WoodItGood is supported by its readers. We may earn an affiliate commission at no extra cost to you if you buy through a link on this page.
Well, if the chilly nights and pumpkin-spiced everything haven’t clued you in yet, Halloween is just around the corner!
If you’re looking to spook up your yard or home with some handmade charm, I’ve got just the thing for you: DIY wooden ghost decorations.
Whether you’ve got a pile of scrap wood or you’re starting fresh, these ghostly projects are sure to make your Halloween a real treat. Let’s dive into some fun and frightfully easy wooden ghost ideas!
Wooden Ghost Family Shelf Sitters

Want to keep your Halloween decor on the inside? This chunky ghost family shelf sitter set is perfect for adding some spook to your living room, mantle, or shelves.
They’re sturdy, cute, and will bring just the right amount of Halloween spirit indoors.
Skills Learned:
Practice working with thicker wood pieces and fine-tuning your painting details.
Materials Needed:
- Thick wood blocks
- White and black paint
- Sandpaper for finishing edges
Time to Complete: About 1 hour
Pro Tip: Personalize each ghost with names or funny expressions for an extra touch of charm.
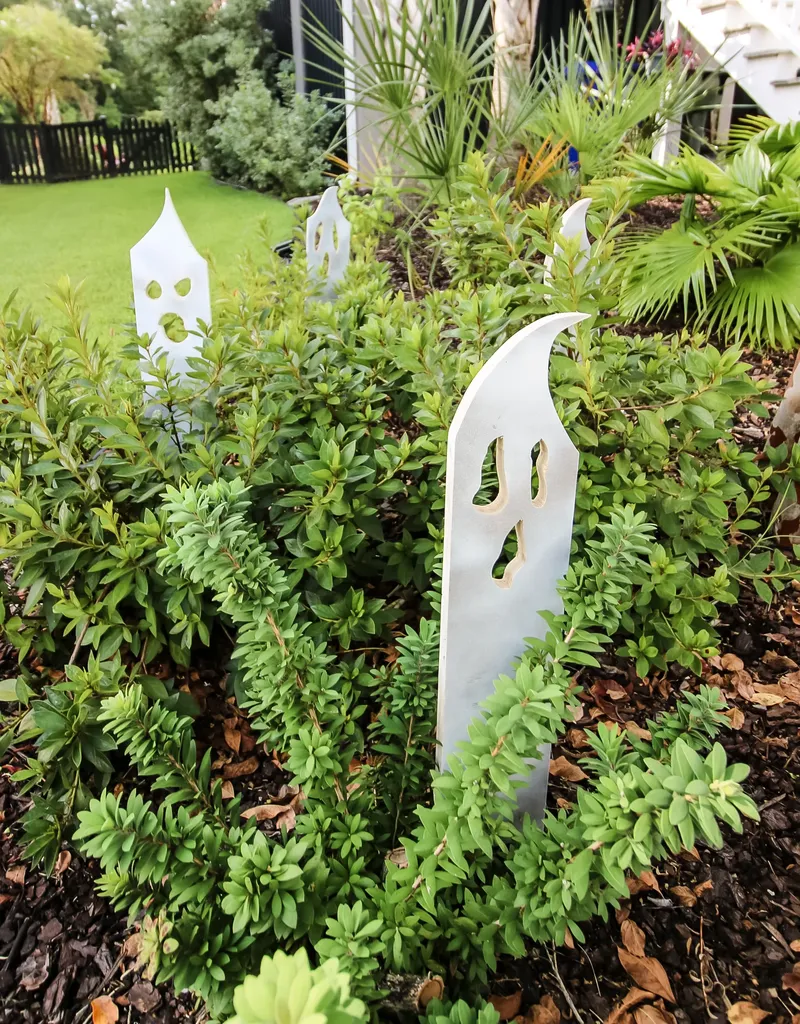
Outdoor Wooden Ghosts
If you’re aiming to give your yard that haunted-house vibe, these outdoor wooden ghosts are just the ticket. Standing tall and spooky, they’re perfect for lining your walkway or scattering throughout your garden.
With just a few simple cuts and some white paint, you’ll have a whole ghostly gang greeting (or scaring!) trick-or-treaters in no time.
Skills Learned:
Great for practicing simple jigsaw cuts and outdoor painting techniques.
Materials Needed:
- 1×12 boards (or scrap wood)
- Jigsaw
- White paint and black paint for details
Time to Complete: About 2-3 hours, depending on how many ghosts you’re making.
Pro Tip: Seal the wood with an outdoor polyurethane to keep your ghosts looking spooky for years to come!
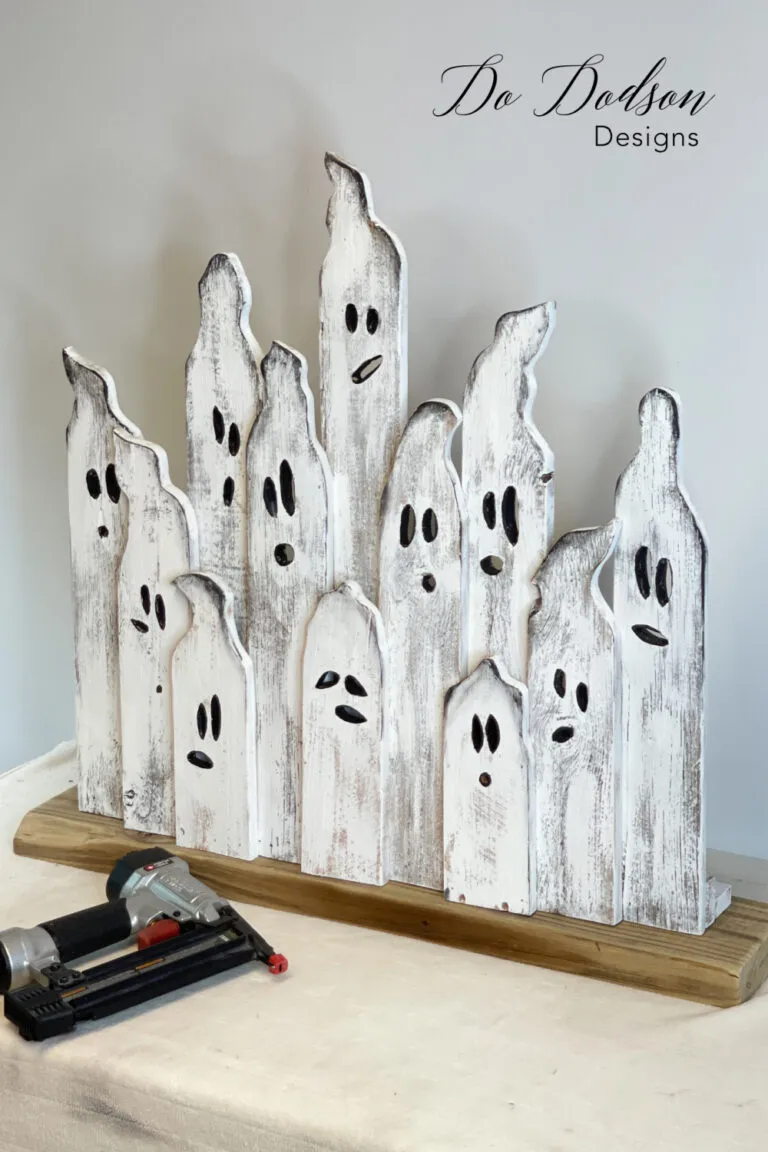
Scrap Wood Ghosts
Got a bunch of scrap wood lying around? Don’t toss it… turn it into a spooky ghost display!
This is the perfect project for repurposing those odd-shaped pieces of wood you’ve got stashed away. It’s simple, quick, and adds a little rustic charm to your Halloween setup.
Plus, no two ghosts will be alike, making each one as unique as a real (well, almost) ghost!
Skills Learned:
Learn how to upcycle scrap wood and improve your sanding and painting skills.
Materials Needed:
- Scrap wood
- Sandpaper
- White and black paint
- Glue for display assembly
Time to Complete: 1-2 hours
Pro Tip: For an extra creepy touch, add some glow-in-the-dark paint to your ghost faces so they light up at night!
Ghost Garland
If you’re looking for something simple but eye-catching, this wooden ghost garland is just the ticket.
Perfect for stringing up across your porch, mantle, or even along the fence, these spooky little wooden ghosts will add a playful touch to your Halloween setup without too much fuss.
Skills Learned:
Learn basic painting and stringing techniques.
Materials Needed:
- Wooden ghost cutouts
- String
- Paint
Time to Complete: Less than an hour
Pro Tip: Alternate your ghost colors or add glitter for an extra festive flair!
Recommended Reading: 15 Ghost Yard Decorations: Simple Halloween Projects for Woodworkers
Halloween Ghosts SVG Bundle

If you’re into laser cutting or own a Cricut, this SVG bundle is a must-have! It gives you the files to create perfectly detailed ghost shapes in a variety of sizes.
Whether you want to cut them out of wood, vinyl, or any other material, this bundle has everything you need to bring your ghostly visions to life.
Skills Learned:
Perfect for learning how to work with SVG files and laser-cutting wood.
Materials Needed:
- Laser cutter or Cricut machine
- Wood sheets
- SVG file
Time to Complete: Varies by project
Pro Tip: Use these cutouts as stencils to paint spooky ghost designs on larger wood pieces.
Simple Wooden Ghosts
These simple wooden ghosts are a beginner-friendly project that’ll give your yard or porch a haunted makeover.
With just a few materials, you can create spooky decorations that’ll have the whole neighborhood talking.
These ghosties are lightweight and easy to move around, so you can change up your Halloween display whenever the mood strikes.
Skills Learned:
Practice making basic shapes with a jigsaw and painting clean, bold designs.
Materials Needed:
- 1×12 boards or scrap wood
- Jigsaw
- White paint
Time to Complete: About 1-2 hours
Pro Tip: Add a stake to the bottom of each ghost to easily plant them in your yard for outdoor displays!
Wooden Ghosts Layering Decor
For a more elegant and layered look, these wooden ghosts are perfect for adding a little bit of depth to your decor.
They’re designed for layering, so you can create a three-dimensional scene for your Halloween display, whether inside or outside.
Skills Learned:
Layering wood pieces teaches great attention to detail and creative placement.
Materials Needed:
- Pre-cut wooden ghosts
- Paint
- Adhesive for layering
Time to Complete: 2-3 hours
Pro Tip: Use contrasting colors between the layers to make each ghost stand out!
Large Wooden Ghost
If you really want to make a statement, this large wooden ghost will do the trick.
Perfect for outdoor displays, this ghostly figure will loom large in your yard, giving your home a spooky Halloween vibe.
The design is simple but impactful, making it a great centerpiece for your haunted setup.
Skills Learned:
A good project to practice cutting large shapes and outdoor painting techniques.
Materials Needed:
- Large wood board
- Jigsaw
- Paint
Time to Complete: 2-3 hours
Pro Tip: Add LED lights behind this large ghost to make it glow at night!
DIY Wood Ghosts
These cute and customizable wood ghosts are perfect for adding a personal touch to your Halloween decor.
They can be any size you want, from tiny tabletop ghosts to larger lawn decorations. All you need is some scrap wood, a bit of paint, and a dash of creativity to bring these little guys to life.
Plus, they’re easy enough that even the kiddos can help out! Which, if you’re anything like us, they are ALWAYS trying to get into what we’re doing. Tadpole in particular.
Skills Learned:
This project is great for learning basic wood shaping with a jigsaw and painting simple designs.
Materials Needed:
- Scrap wood
- Jigsaw
- Paint (white and black)
Time to Complete: Around 1 hour
Pro Tip: Let your ghosts dry fully between paint coats for a cleaner finish, and don’t be afraid to get creative with their faces!
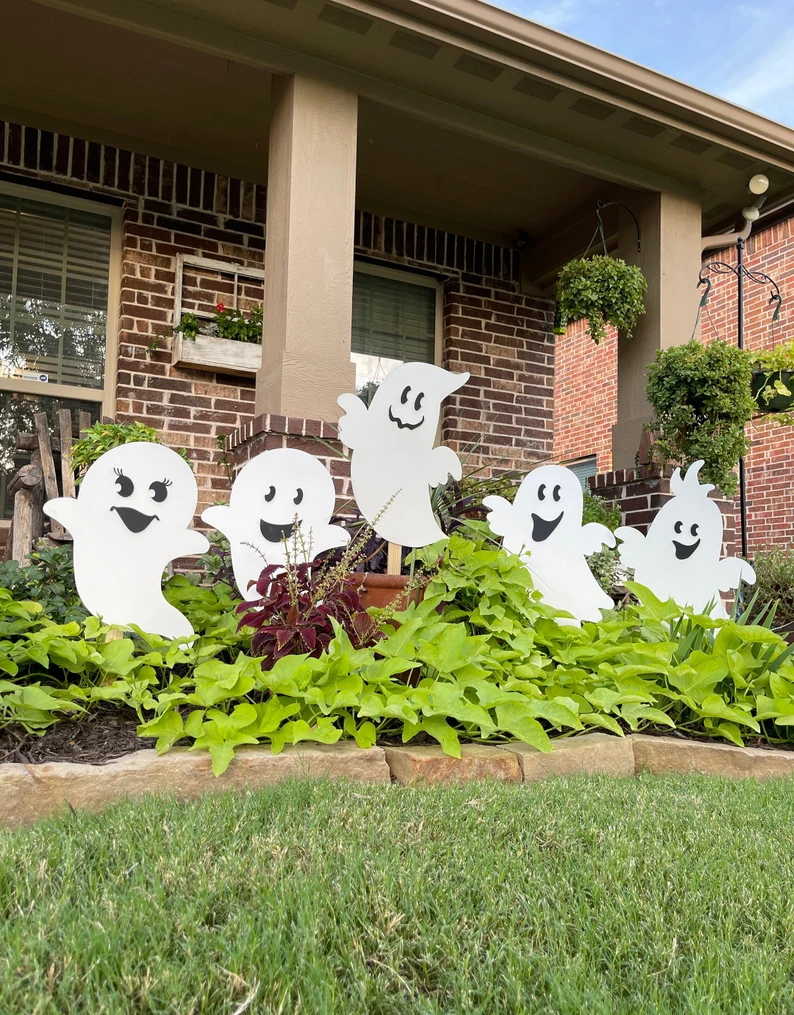
5-Piece Ghost Set
This set includes a variety of wooden ghosts that can be arranged however you like, on your porch, in your garden, or even inside your home.
Each ghost is a different size, making this a versatile addition to your Halloween decor.
Skills Learned:
Great for practicing cutting and arranging different sizes of wooden shapes.
Materials Needed:
- Pre-cut wooden ghosts
- Paint
- Stands or stakes for outdoor display
Time to Complete: About 1-2 hours
Pro Tip: Mix and match these ghosts with pumpkins or other fall decor for a complete Halloween setup.
Easy DIY Wooden Ghosts
If you’re in a pinch for time but still want to add some spooky flair to your home, these easy DIY wooden ghosts are the perfect last-minute project.
Using only a few tools and supplies, you can create an entire ghost family in no time. Their simplicity is their charm, and they’re perfect for scattering around the house, porch, or yard.
Skills Learned:
Great for practicing simple woodworking and gaining confidence with a jigsaw.
Materials Needed:
- Scrap wood or purchased boards
- White and black paint
- Sandpaper for smoothing edges
Time to Complete: About an hour
Pro Tip: Use varying heights for each ghost to create a more dynamic, playful display. Smaller ghosts look great on porches or mantels, while larger ones can haunt your yard!
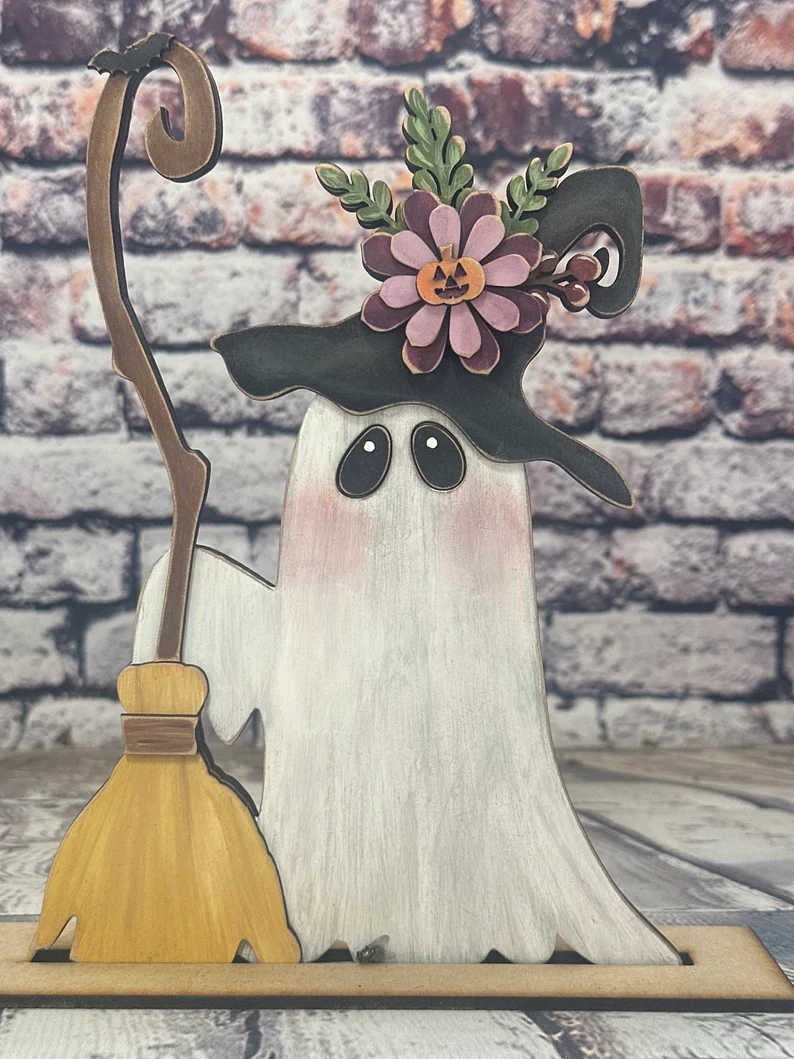
DIY Halloween Ghost with Broom
This whimsical ghost comes complete with its own broom, adding a bit of spooky fun to your yard or porch.
The design is simple yet full of personality, and the broom adds an extra element that’s perfect for Halloween.
Skills Learned:
This project will help you practice crafting detailed features and assembling multiple wood pieces.
Materials Needed:
- Wood
- Paint
- Broom for assembly
Time to Complete: About 2 hours
Pro Tip: Give the broom a weathered look with some distressing techniques for added character.
Whimsical Handcrafted Wooden Ghost
If you’re looking for a ghost that’s more fun than frightening, this handcrafted whimsical ghost is a delightful choice.
Perfect for indoor or outdoor displays, this ghost brings a playful element to your Halloween decorations, making it great for families with little ones who prefer cute over creepy.
Skills Learned:
Focus on painting fun and whimsical designs while working with wood.
Materials Needed:
- Wooden cutout
- Paint
- Finishing tools for smooth edges
Time to Complete: About 1 hour
Pro Tip: Pair this ghost with other fun, whimsical characters like pumpkins or black cats for a kid-friendly Halloween setup.
Well, there you have it… 13 fun and spooky wooden ghost projects that’ll make your Halloween decorating a real treat!
Whether you’re using up scrap wood or starting fresh, these simple projects are perfect for adding a bit of handmade charm to your home this spooky season.
So grab your tools, a bucket of paint, and let the ghost-making begin!
Which ghost project are you dying to try? Let me know in the comments, and don’t forget to check out my other Halloween woodworking ideas!


